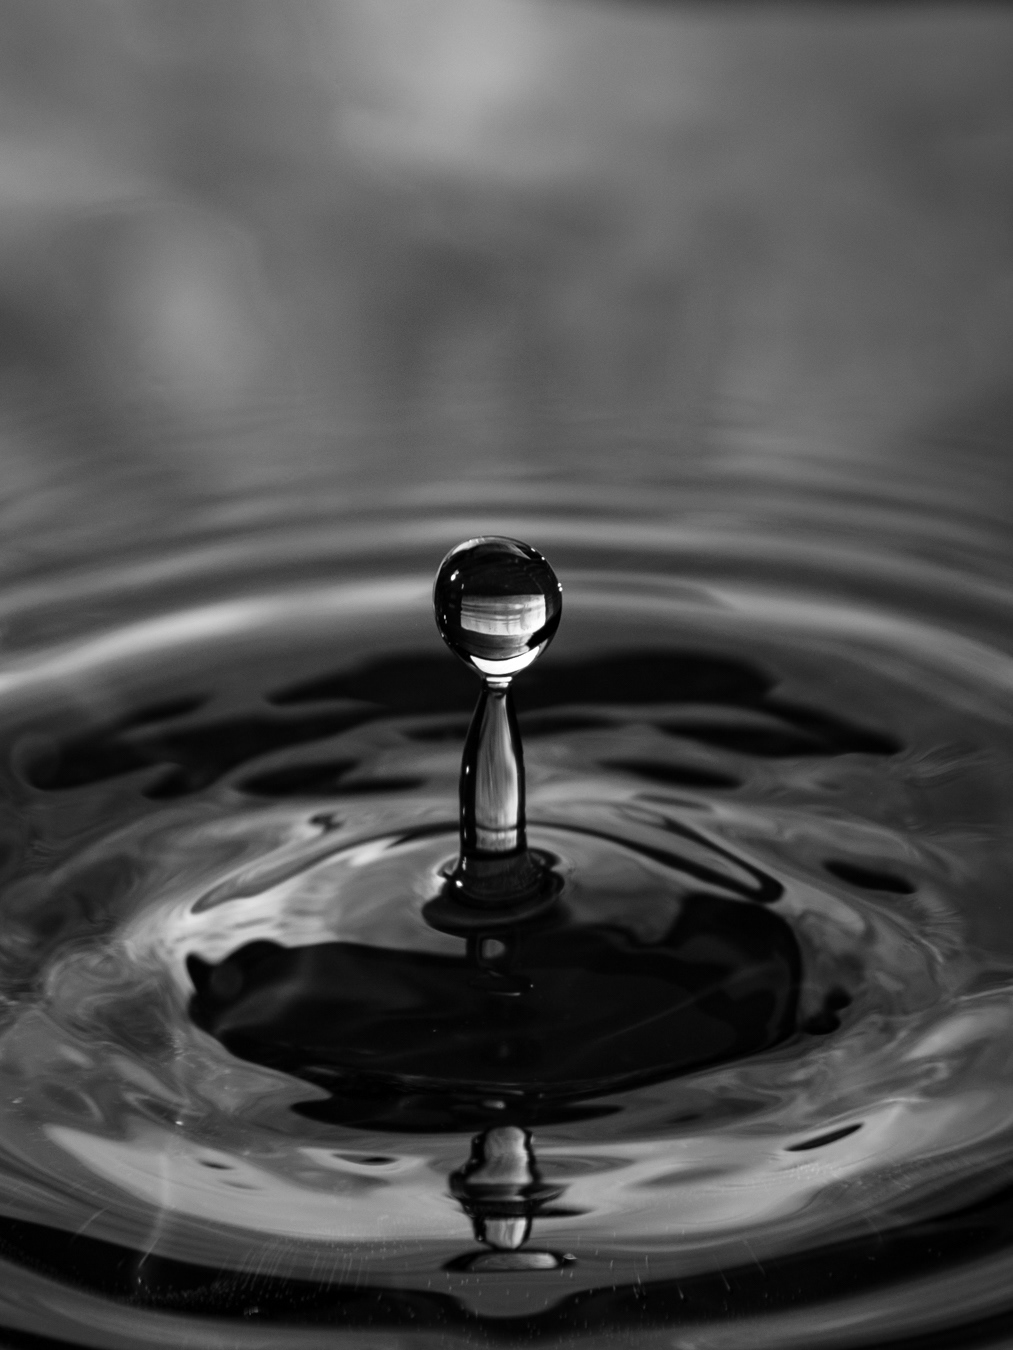


Product photography can be illuminated in a number of ways, depending on the type of product and the desired look and feel of the photograph. Here are some tips for illuminating product photography:
Use natural light: Natural light can create a soft and warm look in product photography. You can photograph your product near a window or outdoors on a sunny day. Just be aware of harsh shadows that may be cast on your product.
Use studio lighting: Studio lighting can be used to create a more controlled and professional look in product photography. You can use a combination of lights, such as key lights, fill lights, and backlights, to illuminate your product from different angles and eliminate shadows.
Use continuous lighting: Continuous lighting refers to lights that are always on, such as fluorescent or LED lights. These can be used to evenly illuminate your product and are useful for previewing how the final photograph will look.
Use flash: Flash can be used to add additional light to your product and eliminate shadows. You can use a flash as a standalone light source or in combination with other lights.
Experiment with light direction: The direction of light can affect the way your product is illuminated in a photograph. Try illuminating your product from different angles, such as from the front, side, or above, to see how it changes the look of the photograph.
Use reflectors: Reflectors can be used to bounce light back onto your product, helping to fill in shadows and even out the lighting. You can use a variety of reflectors, such as white, silver, or gold, to achieve different looks.
Overall, the key to illuminating product photography is to experiment with different lighting techniques and find the one that works best for your product and the desired look and feel of the photograph.


